6 Step Guide to Setting Up Your Facebook Business Manager


Facebook has one of the most robust audiences for brands to connect with to promote their products or services.
To help businesses streamline their marketing efforts and manage their Facebook assets effectively, Facebook offers a powerful tool known as Business Manager. Facebook Business Manager allows businesses to manage multiple pages, advertising accounts, and employees all in one centralized platform. In this article, we will provide you with a 6-step guide on how to set up your Facebook Business Manager and harness its full potential.
Step 1: Creating Your Facebook Business Manager Account
The first step in setting up Facebook Business Manager is to create your account. It's pretty much follow along so it's a quick and straightforward process! Follow these steps:
- Log in to your personal Facebook account.
- Head over to business.facebook.com and click on the "Create Account" button.
- Fill in the required information, including your business name, your name, email address, and the business’s URL or phone number.
- Click on the "Create Account" button.
- Facebook will verify your identity by sending a confirmation email to the email address you provided.
- Access the confirmation email and click on the verification link.
Congrats! You created your Facebook Business Manager account and are now ready for the next steps.
Step 2: Adding Your Business Page
After creating your Facebook Business Manager account, the next step is to add your business page. Follow these steps:
- On the Facebook Business Manager dashboard, click on the "Business Settings" button located on the top right corner of the page.
- In the left-hand panel, click on "Pages."
- Click on the "+ Add" button and select "Add a Page."
- You have two options here: a. Request Access to a Page: If your business page is already managed by someone else, you can use this option to request access. b. Create a New Page: If you don't have a business page yet, you can create a new one by following the prompts.
- Choose the appropriate option and provide the necessary information.
- Once your page is added, you can assign people to manage the page, add or remove them, and customize their roles.
With your business page successfully added, you can move on to the next step and add your advertising accounts.
Step 3: Adding Your Advertising Accounts
Facebook Business Manager allows you to manage your advertising accounts from one central location. Here's how to add your advertising accounts:
- On the Facebook Business Manager dashboard, click on "Business Settings."
- In the left-hand panel, click on "Ad Accounts."
- Click on the "+ Add" button and select "Add an Ad Account."
- You have three options here: a. Add an Ad Account: If you already have an advertising account, you can add it here by providing the account ID. b. Request Access to an Ad Account: If your advertising account is managed by someone else, you can request access from them. c. Create a New Ad Account: If you don't have an advertising account yet, you can create a new one by following the prompts.
- Choose the option that suits your situation and provide the necessary information.
- Once your advertising account is added, you can assign people to manage the account, add or remove them, and customize their roles.
With your business page and advertising accounts added, it's time to move on to the next step and add your payment methods.
Step 4: Adding Your Payment Methods
To effectively advertise on Facebook, you need to add your payment methods to Facebook Business Manager. Here's how:
- On the Facebook Business Manager dashboard, click on "Business Settings."
- In the left-hand panel, click on "Payments."
- Click on the "+ Add" button and select "Add Payment Method."
- Choose the payment method that suits your business, whether it's a credit card, debit card, or PayPal.
- Provide the necessary payment information, including the cardholder's name, card number, expiration date, and security code.
- Click on the "Add" button, and your payment method will be successfully added.
With your payment methods successfully added, you can now access Facebook's advertising features, create ads, and boost your business's visibility.
Step 5: Adding Your Team Members
Facebook Business Manager allows you to add team members and assign them specific roles and permissions. Here's how you can do it:
- On the Facebook Business Manager dashboard, click on "Business Settings."
- In the left-hand panel, click on "People."
- Click on the "+ Add" button.
- Enter the email address of the team member you want to add.
- Choose the appropriate role for the team member, such as Admin, Editor, Analyst, or Advertiser.
- Click on the "Next" button.
- If necessary, customize the specific permissions for the team member and click on the "Invite" button.
With your team members successfully added to Facebook Business Manager, you can collaborate seamlessly and boost your business's productivity.
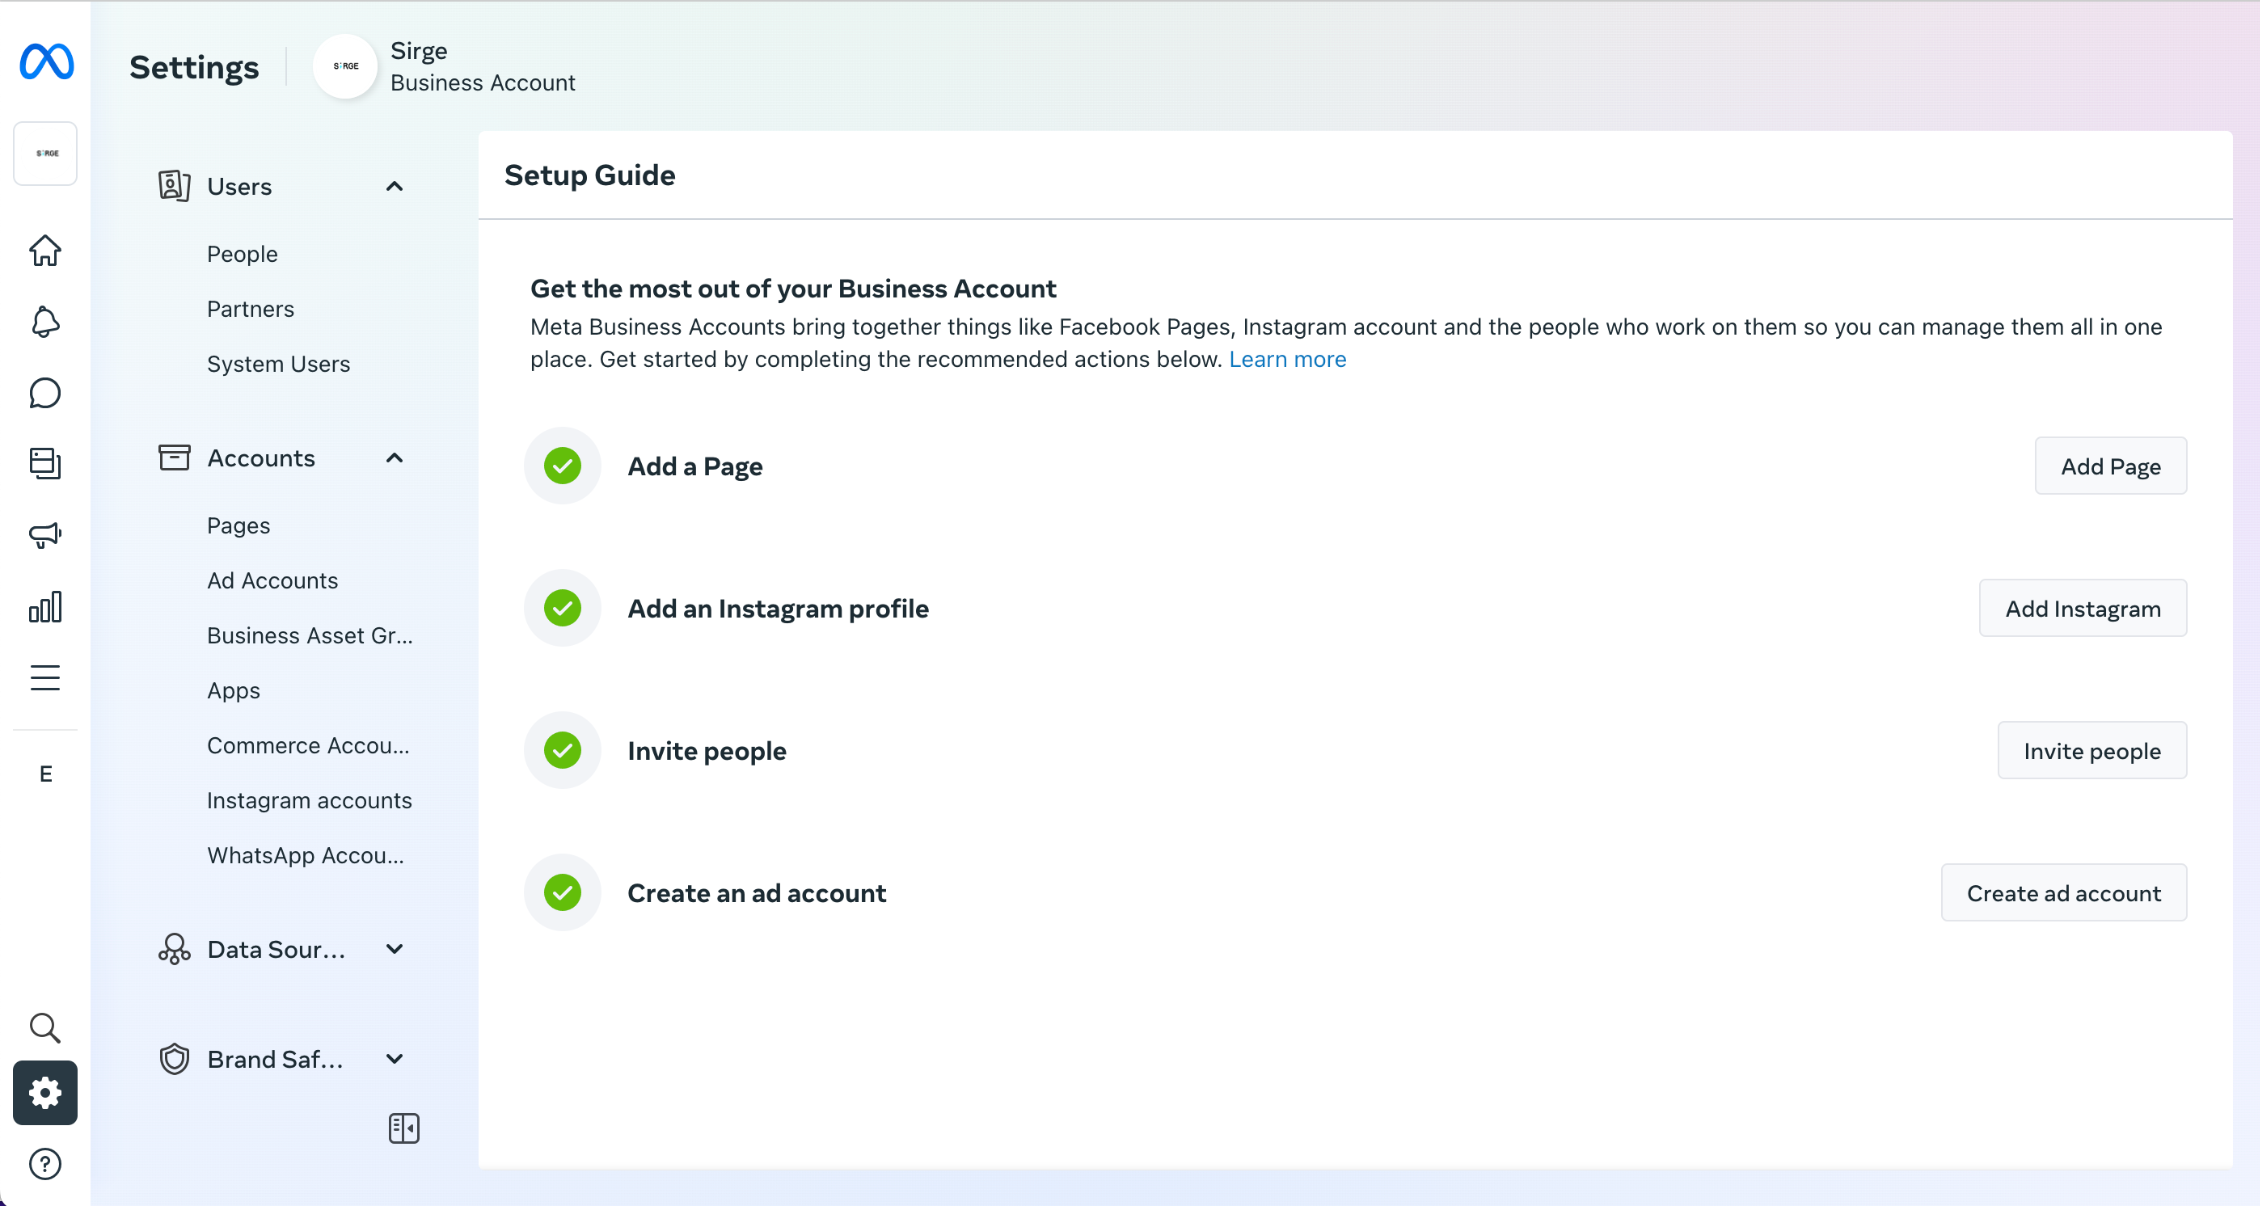
Step 6: Exploring Additional Business Manager Features
Now that you have set up your Facebook Business Manager account, you have access to a wide range of features and tools to enhance your marketing efforts. Here are some key features to explore:
Business Manager Settings
Customize and manage various aspects of your Facebook Business Manager account, including notifications, security, and default page settings.
Business Asset Groups
Create asset groups to organize and manage your Facebook pages, advertising accounts, and other assets efficiently.
Audience Insights
Gain valuable insights about your target audience, their demographics, interests, and purchasing behavior to tailor your marketing strategies effectively.
Ad Creation
Create effective and visually appealing advertisements using Facebook's intuitive ad creation tools.
Performance Analytics
Access in-depth analytics and reports to monitor the performance of your ads and campaigns and identify areas for improvement.
Collaboration Tools
Collaborate with your team members, discuss strategies, assign tasks, and track progress within Facebook Business Manager.
FAQs
1. Can I manage multiple Facebook pages with Business Manager?
Yes, absolutely! Business Manager allows you to manage multiple Facebook pages, along with other assets, such as advertising accounts and payment methods, all in one centralized platform.
2. Can I customize the roles and permissions of my team members?
Yes, you have full control over the roles and permissions you assign to your team members in Facebook Business Manager. You can choose from various predefined roles or create custom roles to suit your business needs.
3. Do I need to have an advertising account to use Facebook Business Manager?
While having an advertising account is not mandatory to set up Facebook Business Manager, it is highly recommended if you plan to run ads and boost your business's visibility on the platform.
Guide to Setting Up Your Facebook Business Manager Conclusion
Setting up your Facebook Business Manager is a crucial step towards advertising with Meta and growing your brand. With its powerful features and tools, you can centralize your assets, streamline your marketing efforts, and collaborate seamlessly with your team members. By following this 6-step guide, you will be well on your way to mastering Facebook Business Manager and maximizing your brands potential in the digital world. But remeber, theres still more to do before you start running any ads!
If you're looking for more info on how to set up your Meta and Facebook settings, check out more of our blogs!

